Glass blowing is a glass forming technique that humans have used to shape glass since the 1st century B.C. The technique consists of inflating molten glass with a blowpipe to form a sort of glass bubble, that can be molded into glassware for practical or artistic purposes.
Thanks to the glass blowing process, glass has been one of the most useful materials in human society for centuries. We’ve laid the exact process, step by step, to give you a better understanding of how exactly we’ve made the best use of this wonderful material.
From the furnace to the pipe
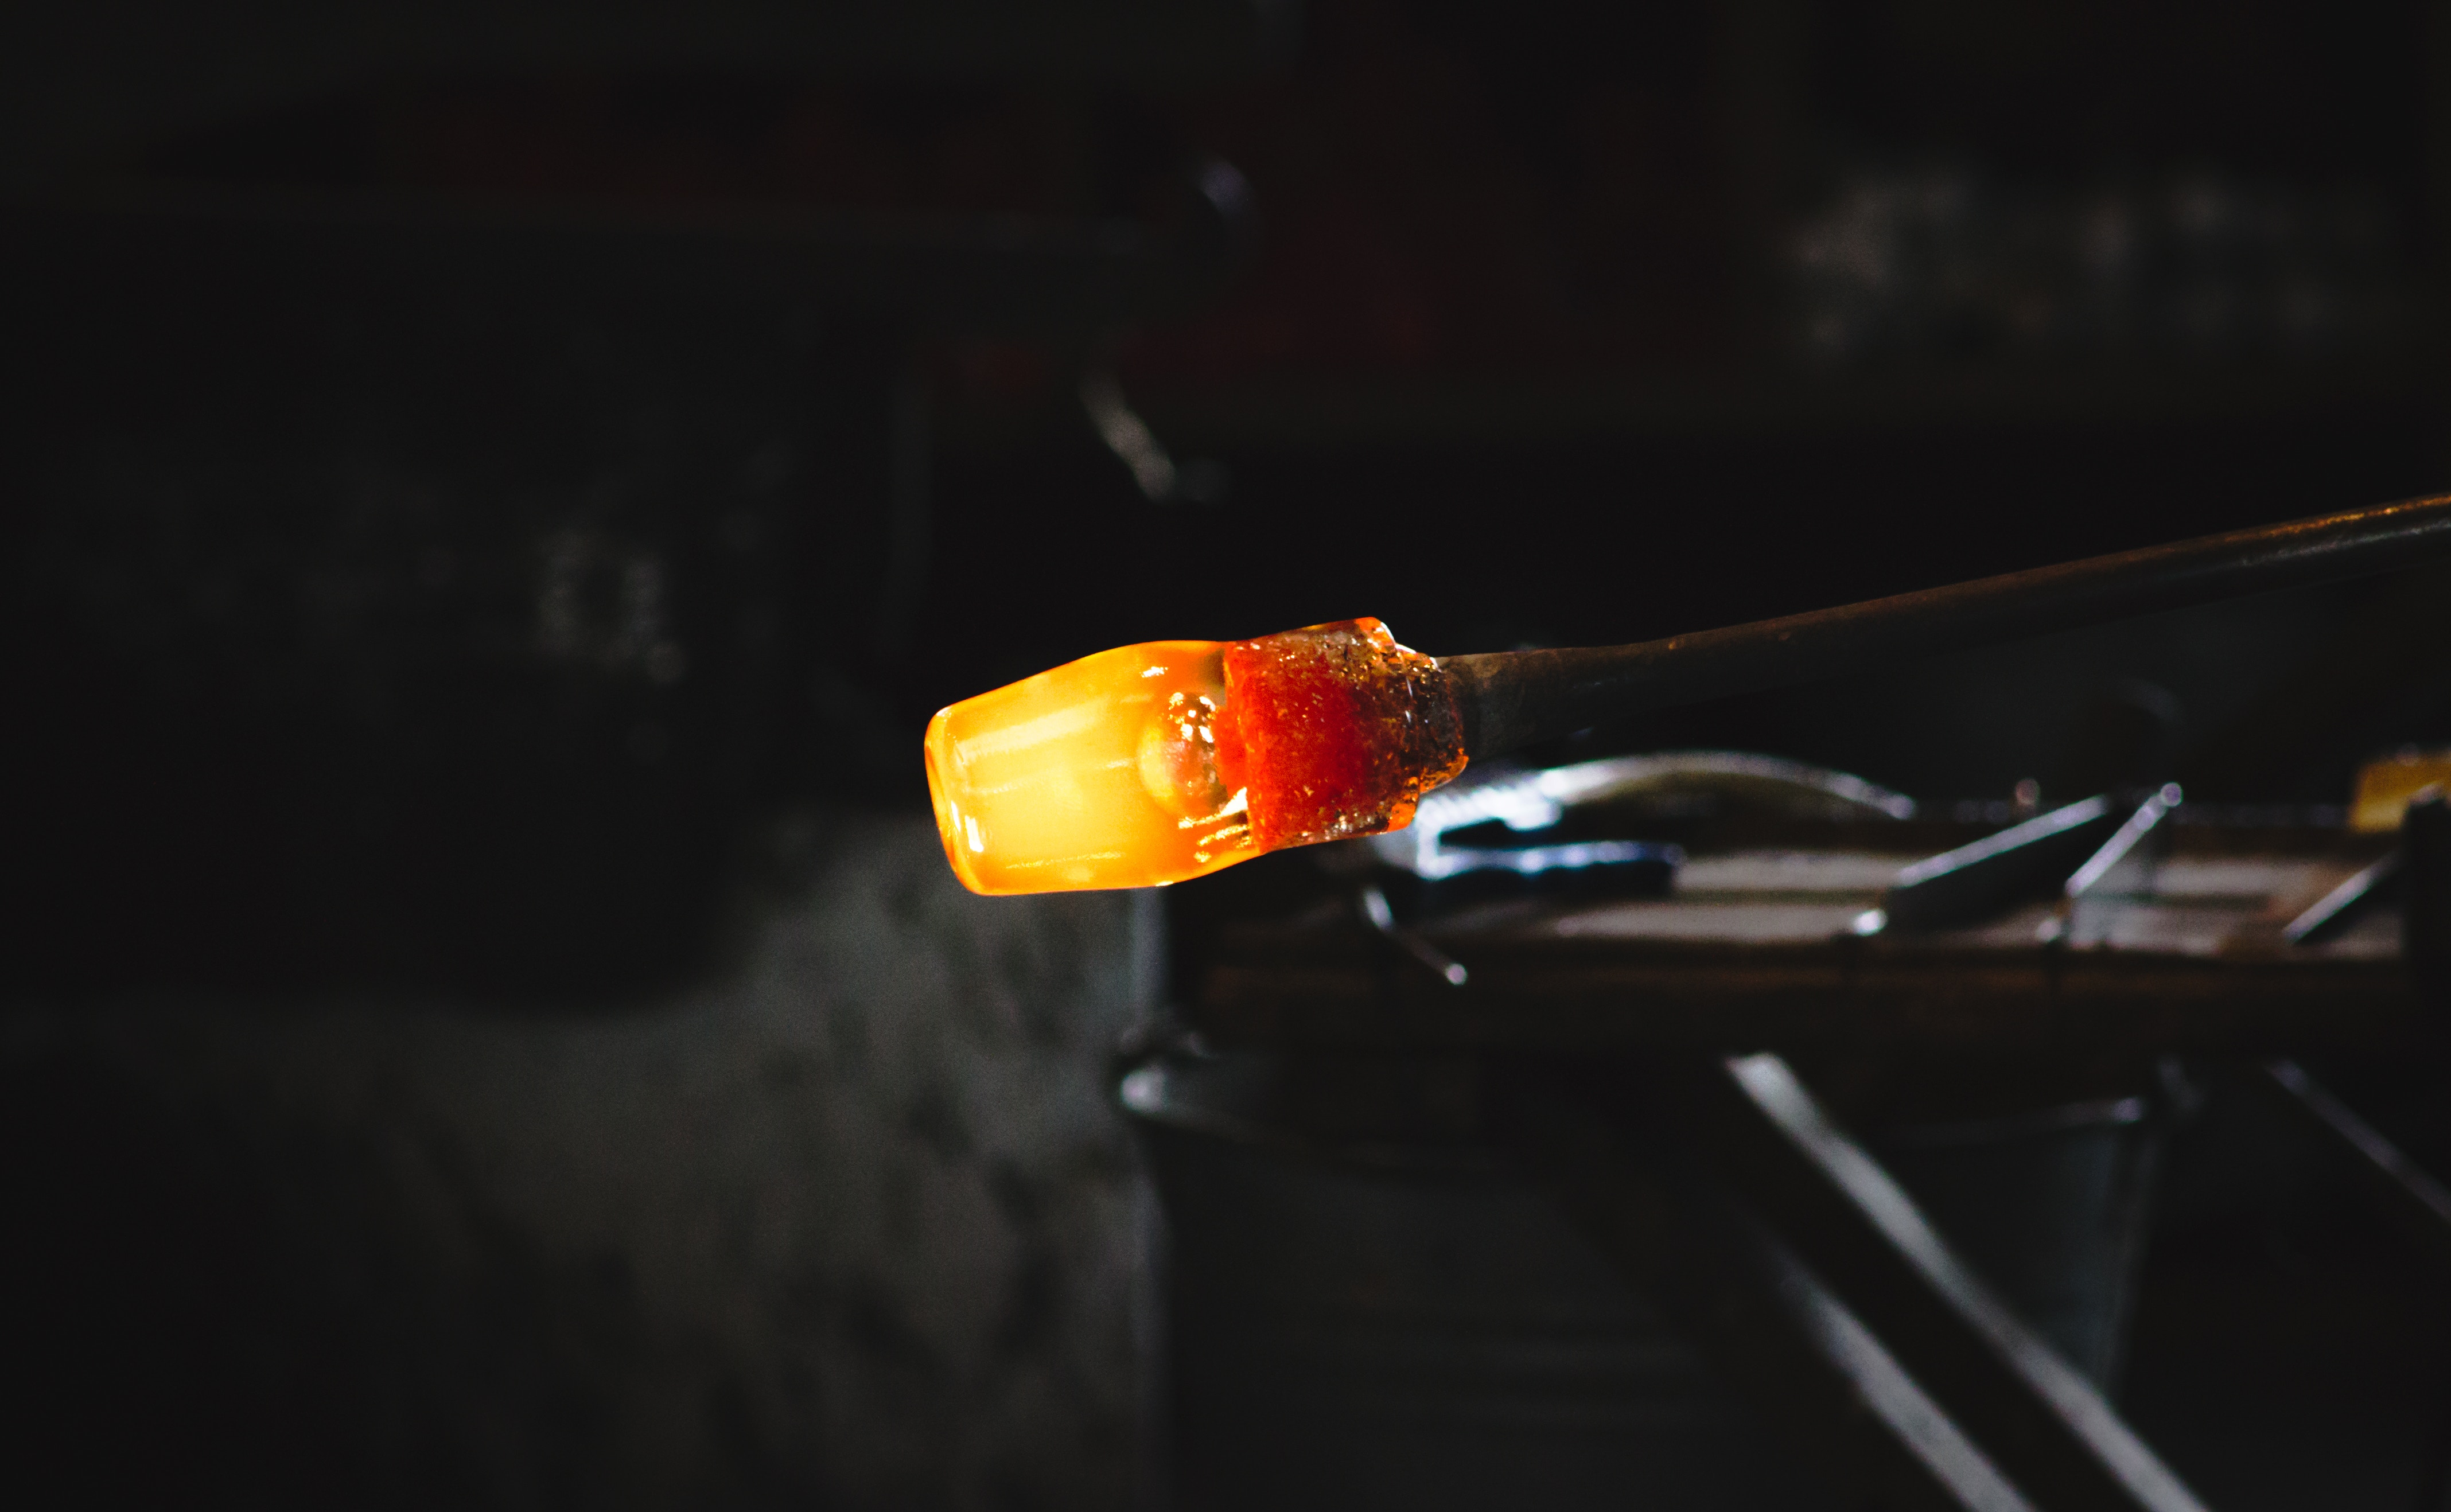
 Before starting the glass blowing process, the glass is placed in a furnace that heats it to a temperature of 2000 degrees, making it malleable. Next, the glass is gathered by inserting one end of the blowpipe into the furnace, and rolling it over the molten glass until a “gob” of glass attaches to it.
Rolling the glass on the marver
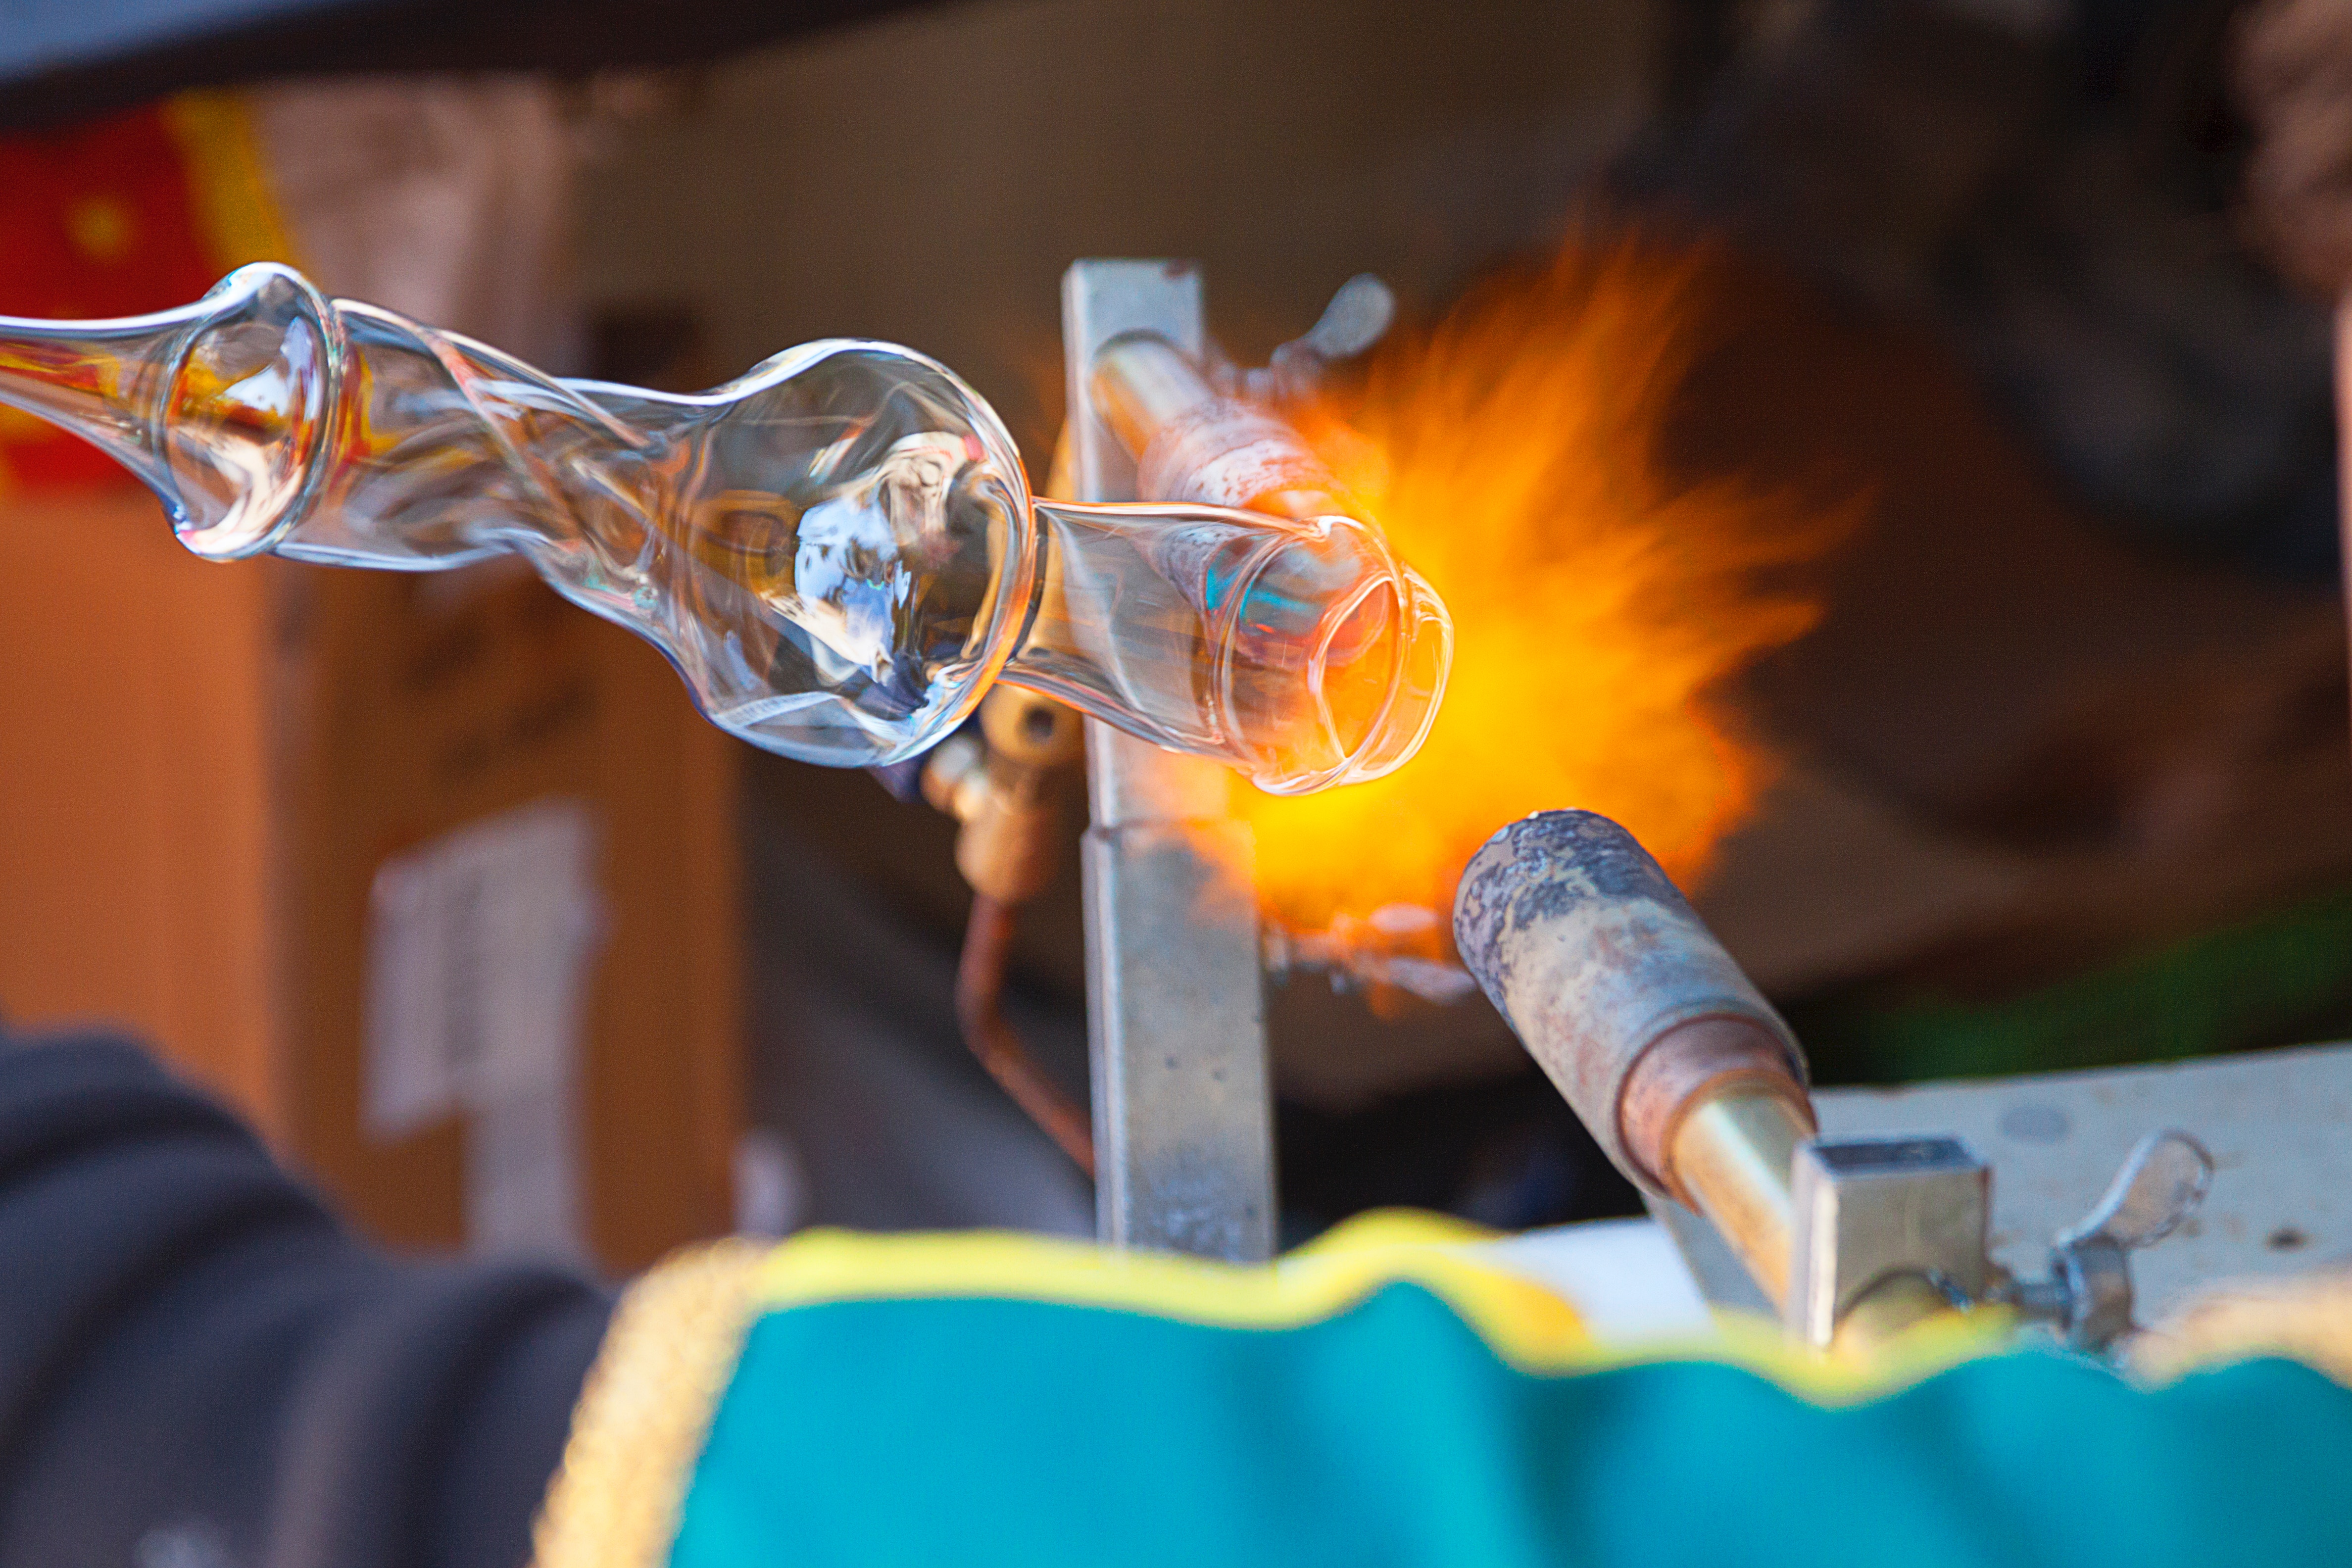
The next step is to roll the molten glass on a flat metal slab called a marver. The marver acts as a means to control the shape and temperature of the glass.
The glass is taken back and forth from the marver to the glory hole, a hot chamber used to reheat the glass in order to make it malleable again.
DMG School learn glass blowing
Adding color (then re-rolling on the marver)
To give the glass color and design, it’s dipped in crushed colored glass, which fuses to the main glass piece almost immediately due to the hot temperature.
Once the main glass piece has been fused with crushed colored glass, it is taken back to the marvel where it is rolled again.
Blowing the glass
To give the glass its final shape and size, it is blown into with a blowpipe, creating a sort of bubble of glass. To carry out this process, the blowpipe holding the glass must be placed on a steel stand. Then, the glass artist has to blow into the blowpipe while rotating it at the same time.
Throughout this process, the glass needs to be continuously taken to the glory hole to be reheated because blowing it cools it very quickly.
Removing the glass
The final step is to remove the glass from the glass pipe. To do this, steel tweezers called jacks are used to separate the bottom part of the blown glass while rotating the blowpipe. Thanks to the separation with the jacks, the glass can be removed from the blowpipe with one solid tap.
Cooling the glass
The last step is to take the blown glass to an annealing oven using heat resistant gloves. This allows the glass to cool slowly over several hours, as it is highly perceptive to breaking when exposed to rapid temperature changes.
Look for upcoming events at DMG’s exhibition calendar to experience the colorful and fascinating works of seasoned glass blowers.